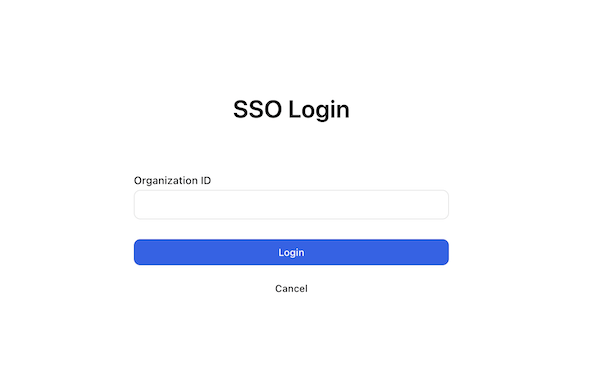
Before you begin: You’ll need a unique
Contact your Account Manager or Pelanor Support to obtain it.
organization_id.Contact your Account Manager or Pelanor Support to obtain it.
General Workflow
Add redirect URI
Use the format:
Replace
| Environment | Redirect URI format |
|---|---|
| US (default) | https://app.pelanor.io/api/auth/callback/{idp}-{organization_id} |
| EU | https://app-eu.pelanor.io/api/auth/callback/{idp}-{organization_id} |
{idp} with entra, okta, or jumpcloud and {organization_id} with your unique value.Send config to Pelanor Support
Share the following with Pelanor:
- Client ID
- Client Secret
- Issuer URL / IdP domain
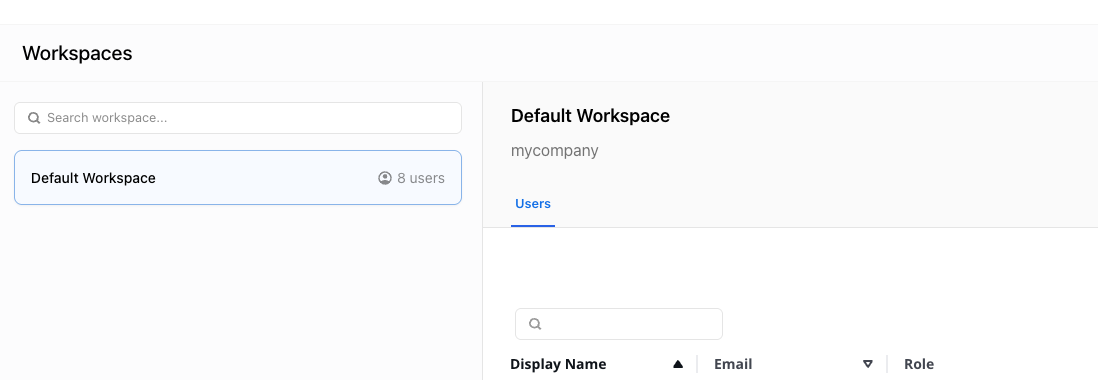
Finding Your Organisation Name
Logging in with SSO
Platform-Specific Instructions
Microsoft Entra ID (Azure AD)
Set redirect URI
Use:
- US:
https://app.pelanor.io/api/auth/callback/entra-{organization_id} - EU:
https://app-eu.pelanor.io/api/auth/callback/entra-{organization_id}
Create secret and collect info
- Create a secret under Certificates & secrets
- Copy the Client ID and Issuer URL
Okta
Create app integration
Okta Admin Console → Applications → Create App Integration
- Sign-in method: OIDC
- Application type: Web
Set redirect URI
Use:
- US:
https://app.pelanor.io/api/auth/callback/okta-{organization_id} - EU:
https://app-eu.pelanor.io/api/auth/callback/okta-{organization_id}
JumpCloud
Set redirect URI and grant type
- US:
https://app.pelanor.io/api/auth/callback/jumpcloud-{organization_id} - EU:
https://app-eu.pelanor.io/api/auth/callback/jumpcloud-{organization_id}
Grant Type: Authorization Code (enable Refresh Token if needed)